How do I clean my motorcycle helmet?
Now we’re in the height of summer (or supposed to be…) the motorcycle season is in full swing – with evening bike meets taking place, World Superbikes and BSB in action, you’re sure to be dusting off the leathers and wiping the cobwebs off your helmet that’s been sat in the dark and damp cupboard since last October! Have you pulled it out the helmet bag and realised the interiors are covered in mould or it all just smells and bit funky?? Don’t worry about having to replace all your helmet interior quite yet! Here are some great tips for motorcycle helmet cleaning.
To clean a helmet there are a few things to be mindful of:
- A helmet sits against your skin so always use a dermatologically approved soap for cleaning (Shampoo is ideal)
- We recommend washing the interior by hand in a bath or basin to avoid hard objects inside your washing machine
- Washing your interior twice a year, or after riding in any harsh conditions ensures the foam and materials stays in good condition and prevents skin irritation
Remove interior
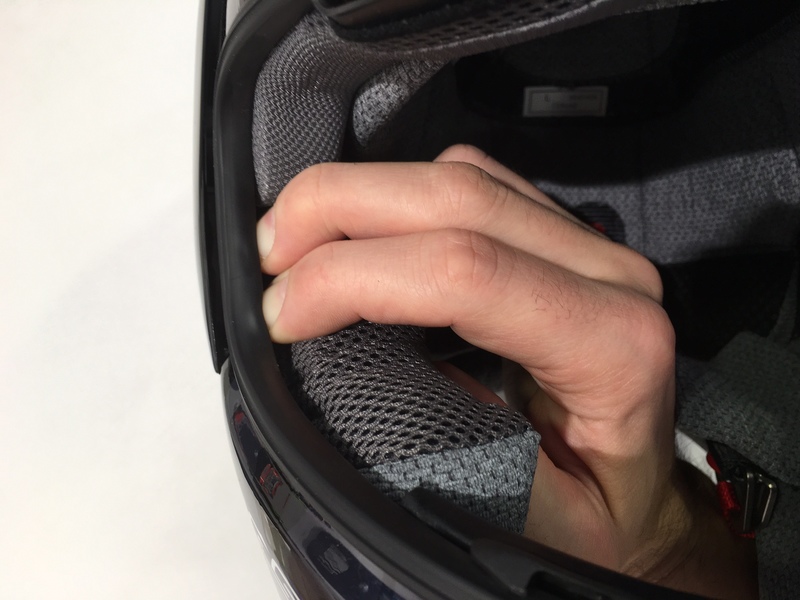
- Remove cheek pads by pulling in the middle top of cheek pad *RX-7V/GP and Quantum/ST/PRO cheek pads pop out at the front. Rebel, Chaser/-V and Axces II pop out at the rear*
- Remove the neck roll hook (Black plastic piece tucked under the leather triangle at the front of the cheek pad)
- Remove crown liner by pulling studs out the inner shell *Two push studs at front and two at rear*

Wash Interior
- Hand wash with shower gel or shampoo to ensure no damage or skin irritation
- Allow to dry naturally or use a hair dryer (nothing stronger)
- Make sure that the interior is fully dry before re-assembling.
Assemble interior
- Feed the chin strap, and chin strap liner, through the cheek pad all the way until the cheek pad is up against the inside of the shell (making sure nothing is bunched up behind it)
- (RX-7V/GP and Quantum/ST/PRO) Push the front of the cheek pad in place so you hear a click, then you know it’s located positively.
- (Rebel, Chaser/-V and Axces II) Locate the tab in the front first, then push into place at the rear (No click)
- Slide the plastic hook from the neck roll back inside the leather triangle on the cheek pad
- Place crown liner in the helmet and push the 4 studs back in the yellow locators until you hear each of them click
- Holding the chin straps, pull them outwards as if you were about to put the helmet on – if the cheek pads stay in place you’ve assembled everything correctly.
- If a cheek pad pops out, you know something is caught between the cheek pad and the shell (Most commonly the chin strap liner will be bunched up behind the cheek pad)
For more information on how to look after your helmet you can check out our Support FAQ's
Did you know that every single Arai helmet is handmade? Read more information on how Arai helmets are made here >>>
If you would like to speak to a trained Arai technician about helmet care then you can see them at events across the country! See the list of Arai UK events here >>>
- 0 comments


